I love winter as much as anyone. Skiing, skating, and tobogganing keep me going through the deep cold and long nights. But it is awfully long in this corner of the world, so what’s a gardener to do – I mean other than the annual browsing of the seed catalogues, hot drink in hand?
Here’s an idea – how about growing your own seedlings? You can save yourself a bit of money and get your fix of dirt in the warmth of your own home! Not only that, but if you buy the seeds from a reputable place (I suggest mail order from Vesey’s or Stokes) you know exactly what you are getting.
Seedlings need a lot of light. My place is small and I have only two (also small) south-facing windows, so the first thing to do is to build some shelves to fit them.
Step 1: Find a window. Here’s a likely looking spot:

All that juicy light, plus the steam from the shower? My future seedlings are smiling already!
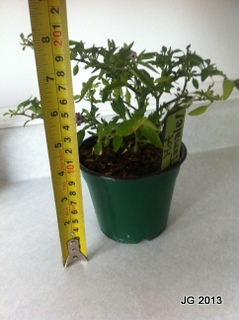
Step 2: Decide how big the shelves should be. This little pepper plant (don’t we hope all our seedlings look half as healthy?) seems to suggest that 8 inches would be a very reasonable size. That gives us room for four shelves.
Step 3: Gather the materials. In this case, that’s a pair of 8′ 1″x4″ planks. Cost: $7. Oh, and a 1.5″ screw. You’ll want a screw.
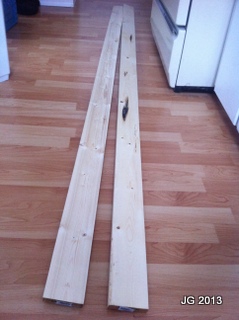
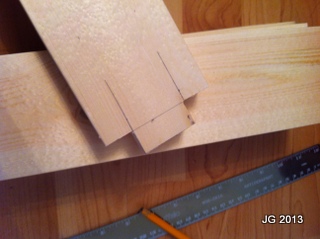
Step 4: Cut your shelves. The basic design is two planks on the side to support the weight, with four shelves going across. They will be held in place by tabs in the shelves fitted into slots in the sides. This is known as a mortise and tenon joint. Plan carefully to use the wood best for the dimensions of your window. You want it to fit the window fairly snugly, but leave a bit of room for error. Maybe a quarter inch. In my case, I cut one 35.5″ side and two 27″ shelves per plank.
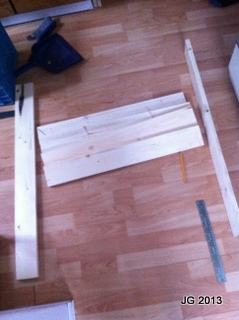
Step 5: Cut the tenons (tabs): Measure this very carefully. You will want the tabs to be just the depth of the wood they are going to slot into. I just cut these with a hand saw.
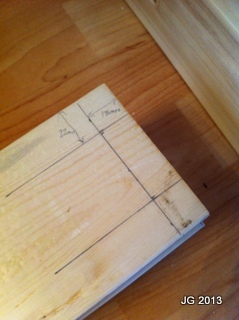
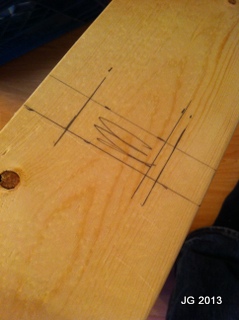
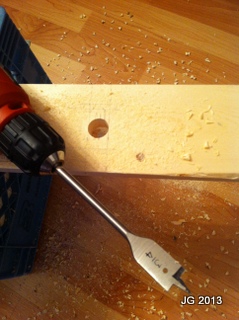
Step 6: Cut the slots (mortises?). This is trickier. I used a 3/4″ spade bit to carefully cut two holes at each end of the slot, and then cut out the corners with a jigsaw. Be careful to account for the width of the wood when you are measuring!
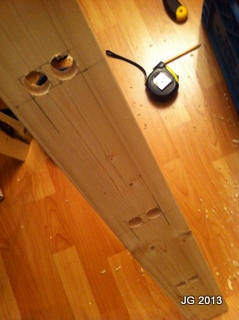

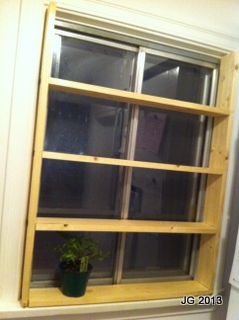
You probably can’t see it from this picture, but I gave the top shelf an extra inch and a half because it gets the least light (the window frame shades it somewhat).
Step 7: The bottom is a special case. If you have a level windowsill, you don’t really need to do this, but mine slopes in a weird way, so I put a shelf at the bottom and pinned it in place with a bit of doweling.

Step 8: Put it all together, fit it in the window, and pin the top of one of the sides to the window frame with the screw so it doesn’t fall out. Just a quarter inch will do. The landlord won’t mind.
Note that by this time, it is dark. Ah, winter!
One final thing: because this is all push-fit (i.e. no screws, nails, or glue), once you are done with the shelves, they can be taken apart and stored under your bed, like this:

Happy winter gardening!

Hooray!
I’ll have to get Mr.Fixit to fettle me up some of these – brilliant, James!